Sunday, September 16, 2012

Knitted Cast On Headband


Ever have a little bit of yarn leftover with no idea what to do with it? This band can be used as a headband or necklace. You can even add beads or buttons if you would like!

Now dont let the fact that this tutorial is in the knitting category frighten you! You only need to know how to do a "knit-on cast-on" (The basic cast-on method)


Supplies:
Whatever type of yarn you have
Whatever size circular (at least 32inch) needles you have

Seriously. Thats it. Easiest project ever.


First, cast on as many stitches to desired length. The band increases when you take it off the needle so keep that in mind. My general rule of thumb is that the length increases by 1/2 of the inches. For example, if your cast on is 20 inches, then when you remove it from the needle it will be 30 inches. Here's a formula to make it a little simpler:

[Cast-on length (in)] / 2       +            [Cast-on length (in)]     =      band length (in)


So if you know how long you want your band to be you just do this backwards!


Band length (in)             -           Band length (in) / 3              =       Cast on length (in)       


Does all that make sense? It's a little confusing.


I wanted the final length of my headband/necklace to be 55 inches, so I casted on until I hit 36 inches.


Once you've casted on to the desired length, cut your yarn and slip the first stitch off of the needle.


Bring the tail of the yarn around the front and through the loop of the first stitch.


And pull tight creating a knot.


Slip the entire row off of the needle


Holding one end of the band, use your fingers to stretch out the band to full length.
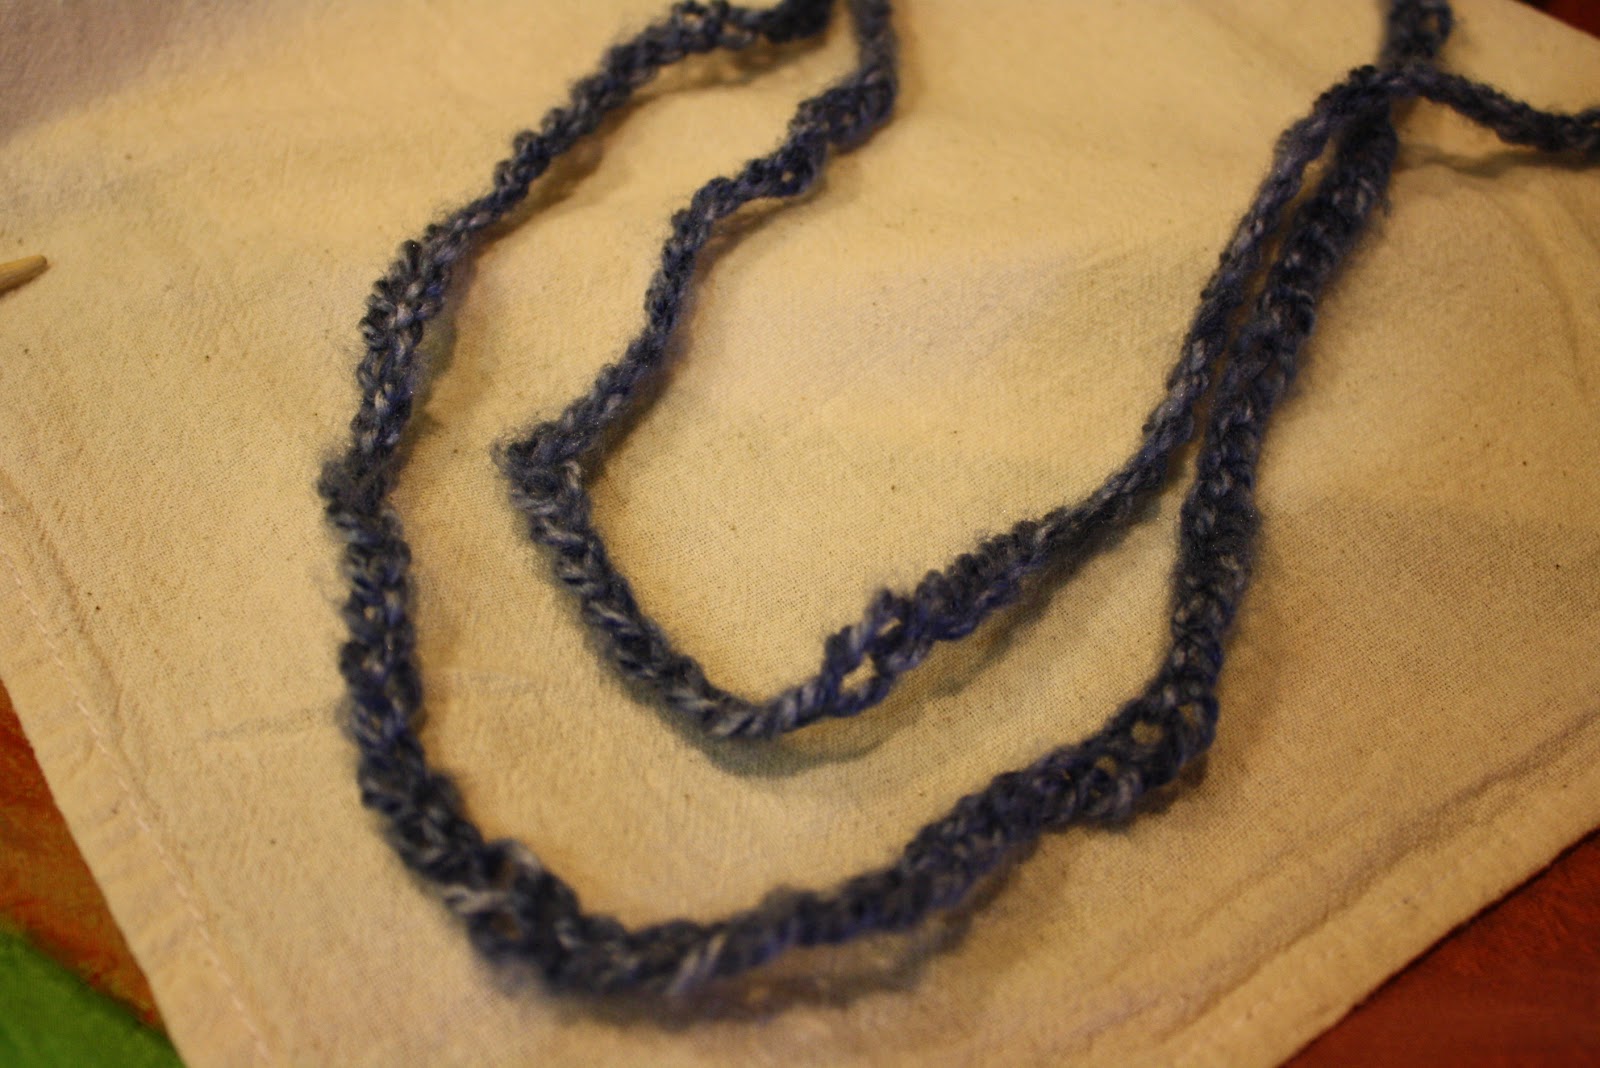


Tie the two ends together and now you have a fancy headband that doubles as a necklace!


See how happy I am with my new necklace and headband? SO HAPPY.


Sunday, September 9, 2012

Pasta with Squash Cream Sauce


This is the easiest pasta sauce you will ever make. Simple and delicious, but a little messy! And with all the zucchini and squash I get at my job at the Life Lab this was the perfect recipe!


Ingredients

1 box of your favorite pasta (I like the fun shaped kind!)
olive oil
2 cups of squash or zucchini (about 1 large or 2 small),  shredded or finely chopped
garlic powder, salt & pepper, taste
1 cup of heavy cream


In a small pot, heat up some olive oil. Add the squash (or zucchini) and season with the garlic, salt, and pepper (and whatever seasonings you have around. I used my Italian seasoning mix) 

Bring squash to a light boil. Allow the squash to simmer in its own juices until it is light in color, about 10 minutes.

Meanwhile cook your pasta to package directions. 

Once your squash is almost translucent, whisk in the heavy cream and simmer for a couple more minutes.

Transfer your sauce to a food processor or blender (or use an emulsion blender) and blend until smooth. 

Return the sauce to the pot and simmer together for a few more minutes, stirring occasionally. 

Add the sauce to your drained pasta and thats that!


Mmmmmmm easy, healthy (kinda?) and delicious!

Monday, September 3, 2012

Homemade Chicken Noodle Soup

Ok. So dont hate me. I know it's been a while since I posted but I've been really busy! I started a new job, I moved into a new apartment, and I have been enjoying the last of August! But it's September now, so back to posting (hopefully!)


Last month, my old housemate Karla was very very sick. I jumped at the opportunity to make my famous homemade chicken noodle soup! A lot of people get nervous about making homemade soup because they think it has to take all day to make. NOT SO! This soup doesn't take very long at all (not counting the time to cook the chicken) and you dont even have to precook the noodles!

Ingredients
2 tbsp of minced garlic, divided
2 chicken breasts
2 sprigs of thyme
2 sprigs of rosemary
2 tbsp olive oil (just eyeball it! About 2 turns of the pan)
1/2 large onion, chopped
3 large carrots, diced
3 celery ribs, diced
2 48oz packages of chicken broth (about 1.5 cups separated)
1/2 package of extra wide egg noodles

Directions:

This first part is how I prefer to precook my chicken breasts. I promise you these will be the juiciest, most flavorful chicken you've ever made and you might not even want to put it into a soup it's that good! But if you dont want to do it this way, you can always cook your chicken another way ahead of time.

At least 4 hours before you serve (You could do this days ahead if you wanted to) place the chicken breasts in the bottom of your crockpot and season with salt, pepper, and 1 tablespoon of the garlic. Add the sprigs of thyme and rosemary (Throw the whole thing in there! Stems and all!) Pour the chicken broth over the chicken until the breasts are just covered (about 1.5 cups). Cook on low for 4 hours or high for 2.5 hours or until no longer pink. Pull apart the chicken with a fork. 

In a large pot heat up the olive oil. When hot, saute the onion. When the onion is almost clear, add the remaining garlic, carrots, and celery and saute for about 5 minutes or the celery and carrots are tender. If you cooked your chicken another way, add the sprigs of thyme and rosemary with the garlic, celery, and carrots. 

Add the remaining chicken broth to the pot and bring to a boil. Once the broth is boiling, add the egg noodles and cook according to package directions. 

Add the entire chicken mixture from the crockpot (rosemary, thyme, broth and all). Simmer for a few minutes more.

You can keep the sprigs in the soup (the leaves should have fallen off) to add more flavor as it sits, just make sure you dont serve them!

Let the deliciousness heal your body and soul!