


Ever have a little bit of yarn leftover with no idea what to do with it? This band can be used as a headband or necklace. You can even add beads or buttons if you would like!
Supplies:
Whatever type of yarn you have
Whatever size circular (at least 32inch) needles you have
Seriously. Thats it. Easiest project ever.
First, cast on as many stitches to desired length. The band increases when you take it off the needle so keep that in mind. My general rule of thumb is that the length increases by 1/2 of the inches. For example, if your cast on is 20 inches, then when you remove it from the needle it will be 30 inches. Here's a formula to make it a little simpler:
[Cast-on length (in)] / 2 + [Cast-on length (in)] = band length (in)
So if you know how long you want your band to be you just do this backwards!
Band length (in) - Band length (in) / 3 = Cast on length (in)
Does all that make sense? It's a little confusing.
I wanted the final length of my headband/necklace to be 55 inches, so I casted on until I hit 36 inches.

Once you've casted on to the desired length, cut your yarn and slip the first stitch off of the needle.

Bring the tail of the yarn around the front and through the loop of the first stitch.

And pull tight creating a knot.

Slip the entire row off of the needle

Holding one end of the band, use your fingers to stretch out the band to full length.
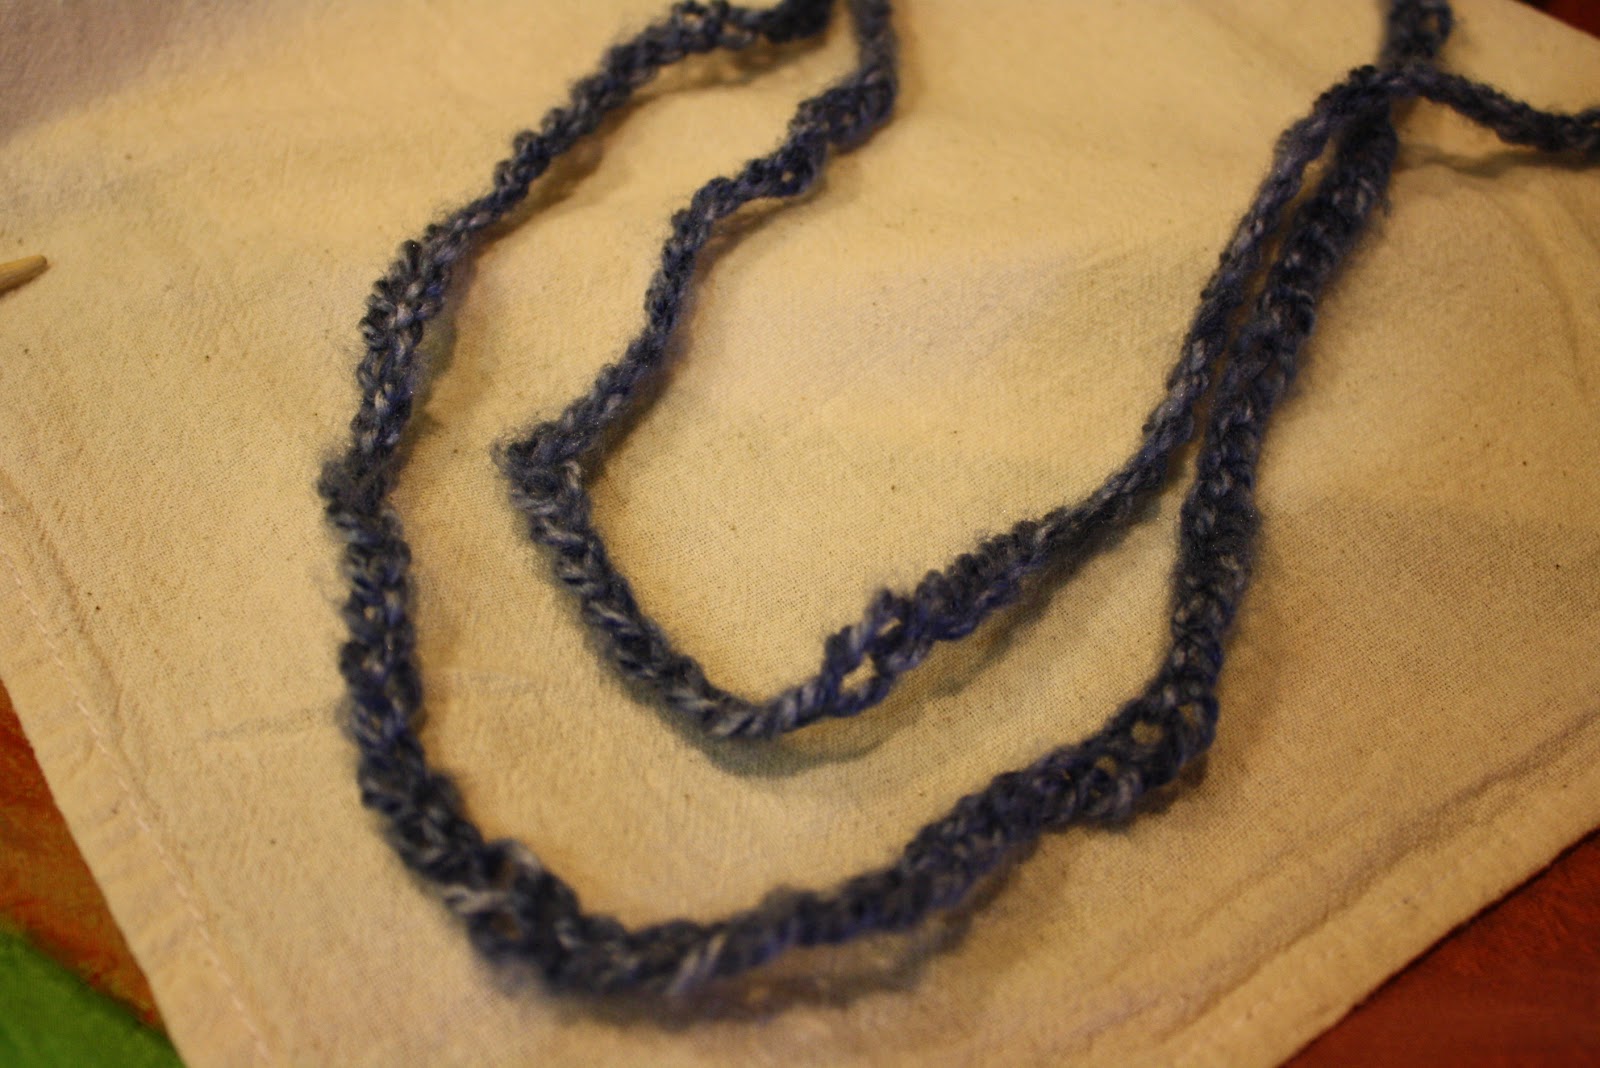
Tie the two ends together and now you have a fancy headband that doubles as a necklace!

See how happy I am with my new necklace and headband? SO HAPPY.

No comments:
Post a Comment